


Introduction
Want your star- and snowman-shaped sugar cookies to look perfect every time? Ensuring they retain their crisp, sharp edges requires the right techniques. Follow these simple yet effective steps to make beautifully shaped cookies with ease.
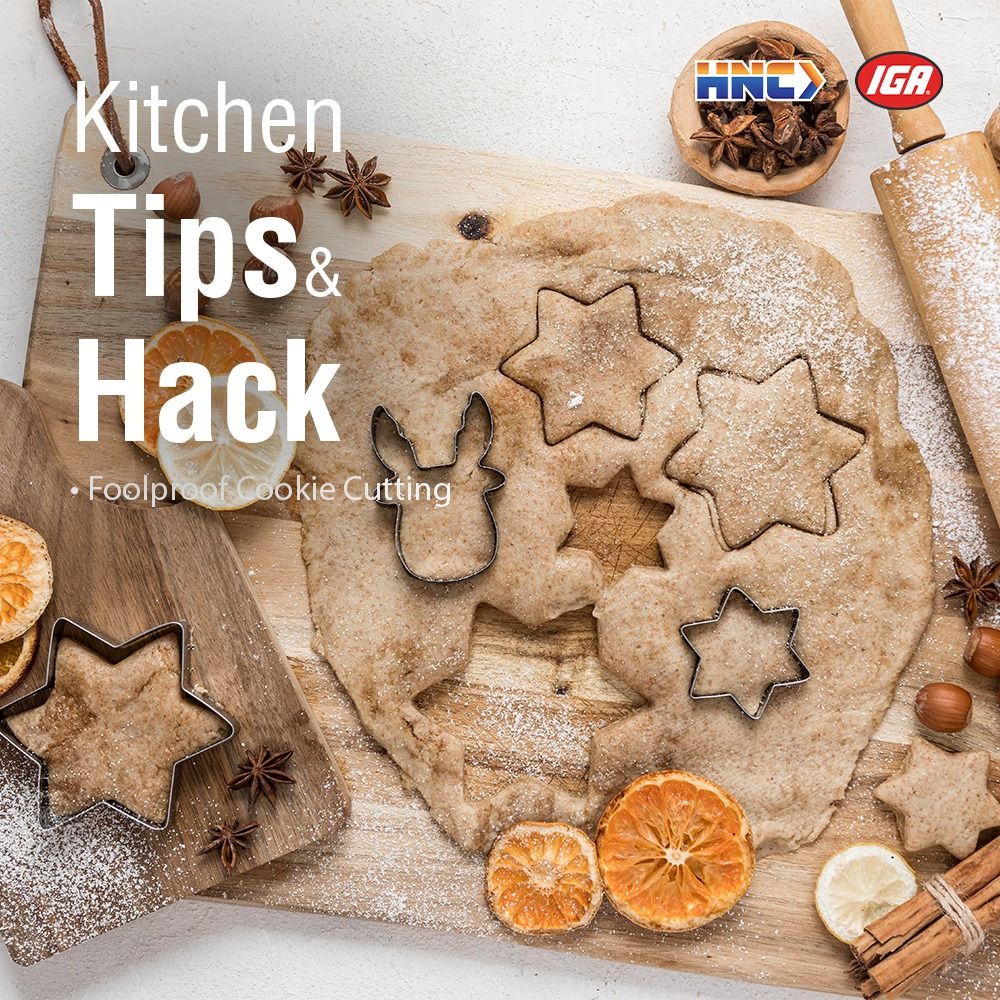
Achieving flawless cookie shapes is all about temperature control and proper cutting techniques. By keeping the dough chilled and using well-floured tools, you can prevent distortions and maintain defined edges. Below, we’ll walk you through the essential steps for foolproof cookie cutting.
Step 1: Roll and Chill the Dough
Start by rolling out chilled dough on a floured parchment paper surface. To prevent spreading, chill the rolled dough again for at least 15 minutes before cutting. If you’re working with a large batch, stack the dough sheets with parchment paper between each layer before refrigerating.
Step 2: Use a Floured Cutter for Precision
To ensure clean, defined shapes, dip your cookie cutter in flour before each cut. This prevents sticking and results in sharper edges. Consistently reflouring the cutter will keep the shapes neat and intact.
Step 3: Chill Before Baking
After cutting out the cookies, place them on a parchment-lined baking sheet and refrigerate once more for at least 15 minutes. This step helps the cookies maintain their form during baking, ensuring a polished and professional appearance.
With these simple yet effective techniques, your cookies will always look as impressive as they taste. By keeping the dough chilled and using a well-floured cutter, you can create perfectly shaped cookies every time. Happy baking!
Follow us for more great tips and hacks in your kitchen!