


Overview
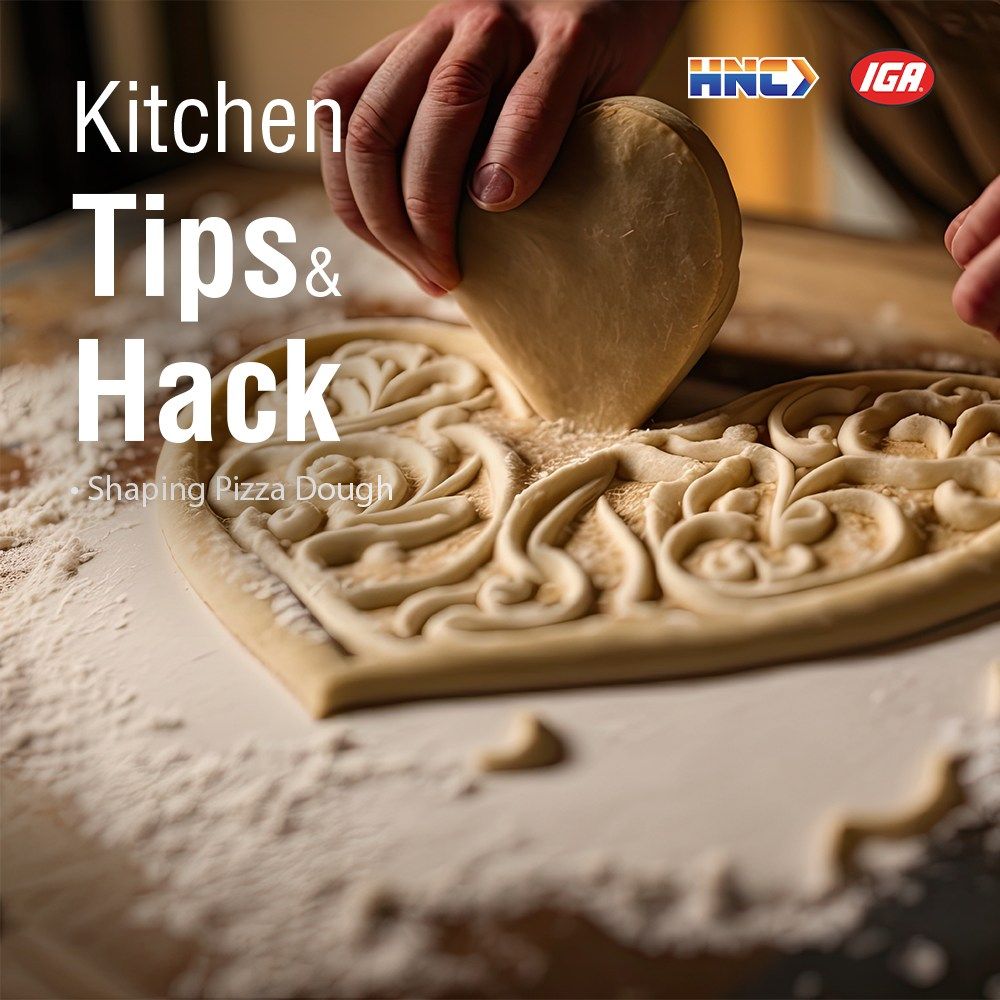
The secret to a perfect pizza crust lies in how you shape the dough. Whether you're using homemade or store-bought dough, following the right technique ensures an even, intact crust—no holes, no tears, just pizza perfection!
Why This Hack Works
✔ Prevents holes & tears – Avoid overstretching your dough.
✔ Even thickness – Ensures a consistent bake.
✔ Light & airy crust – Resting the dough makes it easier to work with.
Step-by-Step Guide to Shaping Pizza Dough
Step 1: Start with Room Temperature Dough
- Place the dough on a well-floured surface.
- Dust the top lightly with flour.
- Let it sit for 20–30 minutes to come to room temperature—this makes it more pliable and prevents shrinking when shaping.
*** Tip: Cold dough is harder to stretch and more likely to tear.
Step 2: Roll from the Center Outward
- Using a floured rolling pin, roll the dough from the center to the edges.
- Continue until it forms a ½-inch thick circle.
*** Tip: Avoid over-rolling—pressing too hard removes air pockets, making the crust dense.
Step 3: Stretch with Gravity
- Hold one edge of the dough with both hands and let it hang gently.
- Inch your hands around the edge, letting gravity naturally stretch the dough.
- Keep turning until it reaches the desired size.
*** Tip: For a traditional pizzeria feel, gently toss the dough between your hands.
Step 4: Prep for Baking
- Transfer the dough onto a lightly oiled or cornmeal-dusted baking sheet.
- Add your favorite toppings and bake to perfection!
Bonus Tips for the Best Pizza Crust
✅ Use olive oil on your hands – Helps prevent sticking while stretching.
✅ Let the dough relax – If it springs back, let it rest for 5 more minutes.
✅ Don’t overload toppings – Too much sauce or cheese can make the crust soggy.
Final Thoughts
Shaping pizza dough doesn't have to be tricky! By following these simple step-by-step techniques, you'll get a perfectly even crust every time. Now, all that’s left is to top, bake, and enjoy your homemade pizza!
Follow us for more recipes for your meals!