


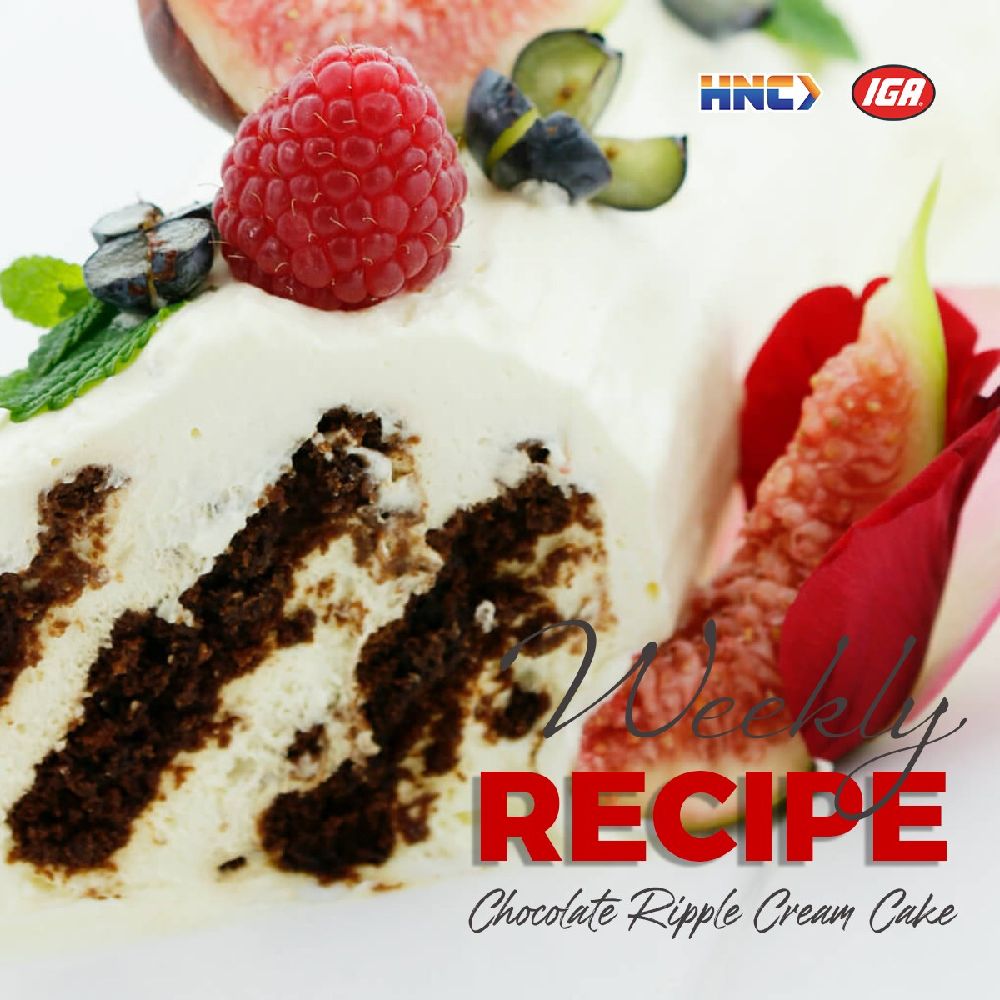
Chocolate Ripple Cream Cake is a deliciously simple no-bake dessert that's perfect for any occasion. Combining the rich, chocolaty flavor of chocolate ripple biscuits with the smooth, velvety texture of whipped cream, this cake is a true crowd-pleaser. The beauty of this recipe lies in its ease of preparation—perfect for when you want to create something special with minimal effort. The contrast between the crunchy biscuits and the fluffy cream creates a heavenly combination that’s sure to satisfy your sweet tooth!
Body Overview
This no-bake dessert is an indulgent treat that combines just a few ingredients to create a stunning dessert. The secret to its irresistible texture lies in layering chocolate ripple biscuits with whipped cream, creating a creamy, melt-in-your-mouth dessert with a satisfying crunch. With just four main ingredients—chilled cream, chocolate ripple biscuits, icing sugar, and vanilla extract—you can easily create a show-stopping cake that will impress your guests. The cake needs time to chill, allowing the flavors to meld and the dessert to set into a delicious, sliceable treat.
Detailed Recipe: Chocolate Ripple Cream Cake
Ingredients:
- 500ml thickened cream (chilled)
- 250g packet chocolate ripple biscuits
- 1 tbsp icing sugar
- 1 tsp vanilla extract
Method:
Step 1: Whip the Cream
In a large bowl, combine the chilled thickened cream, icing sugar, and vanilla extract. Using electric beaters, whip the mixture together until stiff peaks form. This usually takes about 4 minutes, and you’ll know it’s ready when the cream holds its shape without falling. The whipped cream will become smooth and fluffy, forming the creamy base for your cake.
Step 2: Prepare the Base
Spread a small amount of the whipped cream along the base of a rectangular serving plate. This helps to anchor the first layer of biscuits and ensures your cake stays intact during assembly.
Step 3: Layer the Biscuits and Cream
Start by holding one chocolate ripple biscuit and gently spreading it with the whipped cream. Next, place another biscuit beside the first one, making sure that only the cream separates the two. Repeat this process, creating a line of biscuits and cream. The biscuits should be placed close together, allowing the cream to connect them and keep everything in place.
Step 4: Continue Layering
Continue layering the biscuits and cream down the length of the plate, ensuring the layers are neat and even. Once you’ve used up all the biscuits, spread any remaining whipped cream over the top and sides of the cake. The cream should cover the entire structure to create a smooth, uniform layer.
Step 5: Chill the Cake
Wrap the assembled cake loosely with cling wrap, making sure it’s covered but not tightly sealed. Refrigerate the cake for at least 6 hours to allow it to set. This chilling time helps the layers to firm up and makes the cake easier to slice.
Conclusion
Chocolate Ripple Cream Cake is the perfect dessert for anyone looking for a quick, no-bake treat that doesn’t compromise on flavor. With its rich, creamy texture and satisfying crunch from the chocolate biscuits, this cake is sure to be a hit at any gathering. The simplicity of the ingredients and the ease of preparation make it an ideal choice for busy bakers or those new to the kitchen. So, gather your ingredients, whip up the cream, and enjoy this delectable cake that’s as easy to make as it is to devour!